APIRESPONSE
note
- This tranformer can only be used with REST trigger.
- The flow must contain atleast one APIRESPONSE element in it when REST trigger used.
Transformer Configuration
- Drag and drop APIRESPONSE Transformer from the pallet.

- Left click on APIRESPONSE Transformer and Configure as given below.
- Provide status code.
- Click on the Drop down and select Content Type
application/json.
Mapping Types
| Fields | Description |
|---|---|
| GEN | Get one field from the input and mapped in another field of output |
| TRANS | Transforms the input value with the help of inline transformation functions |
| CN | Mapped the input as it is in output body |
| OBJ | Creates a object with target name as key |
| AR | Mapped the input into an array |
1. TRANS
- From Dropdown select TRANS - Transforms the Input value with the help of inline transformation functions.
- Click on the add button. You will see Inline functions, click on + icon.
- Select
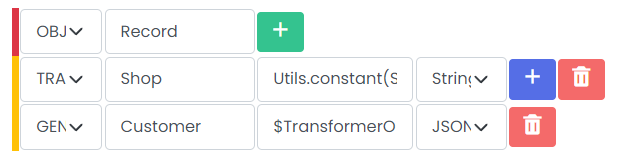
UtilsandConstantfrom dropdown. Add Parameters as Hello world and Save. - The configuration of the APIRESPONSE Transformer appears as follows:
- Target - In target write Status and you will find Key as below
- Key - Utils.constant(Hello world)
2. CN
From Dropdown select CN - Mapped the input as it is in output body.

3. AR
From Dropdown select AR - Mapped the input into an array.
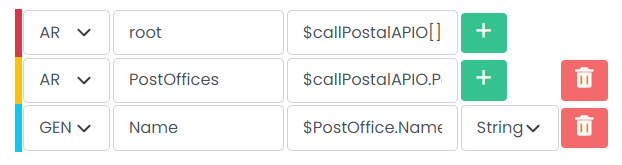
4. GEN
From Dropdown select GEN - Get one field from the input and mapped in another field of output.

5. OBJ
From Dropdown select OBJ - Creates a object with target name as key.
Mapping view
View response structure side by side as you create mapping.
note
- The mapping view only shows
JSON. - It does not shows the response structure for other types like
XML.